


MN82S Hitch Rack for finger bikes
MN82S Hitch Rack for finger bikes
Couldn't load pickup availability
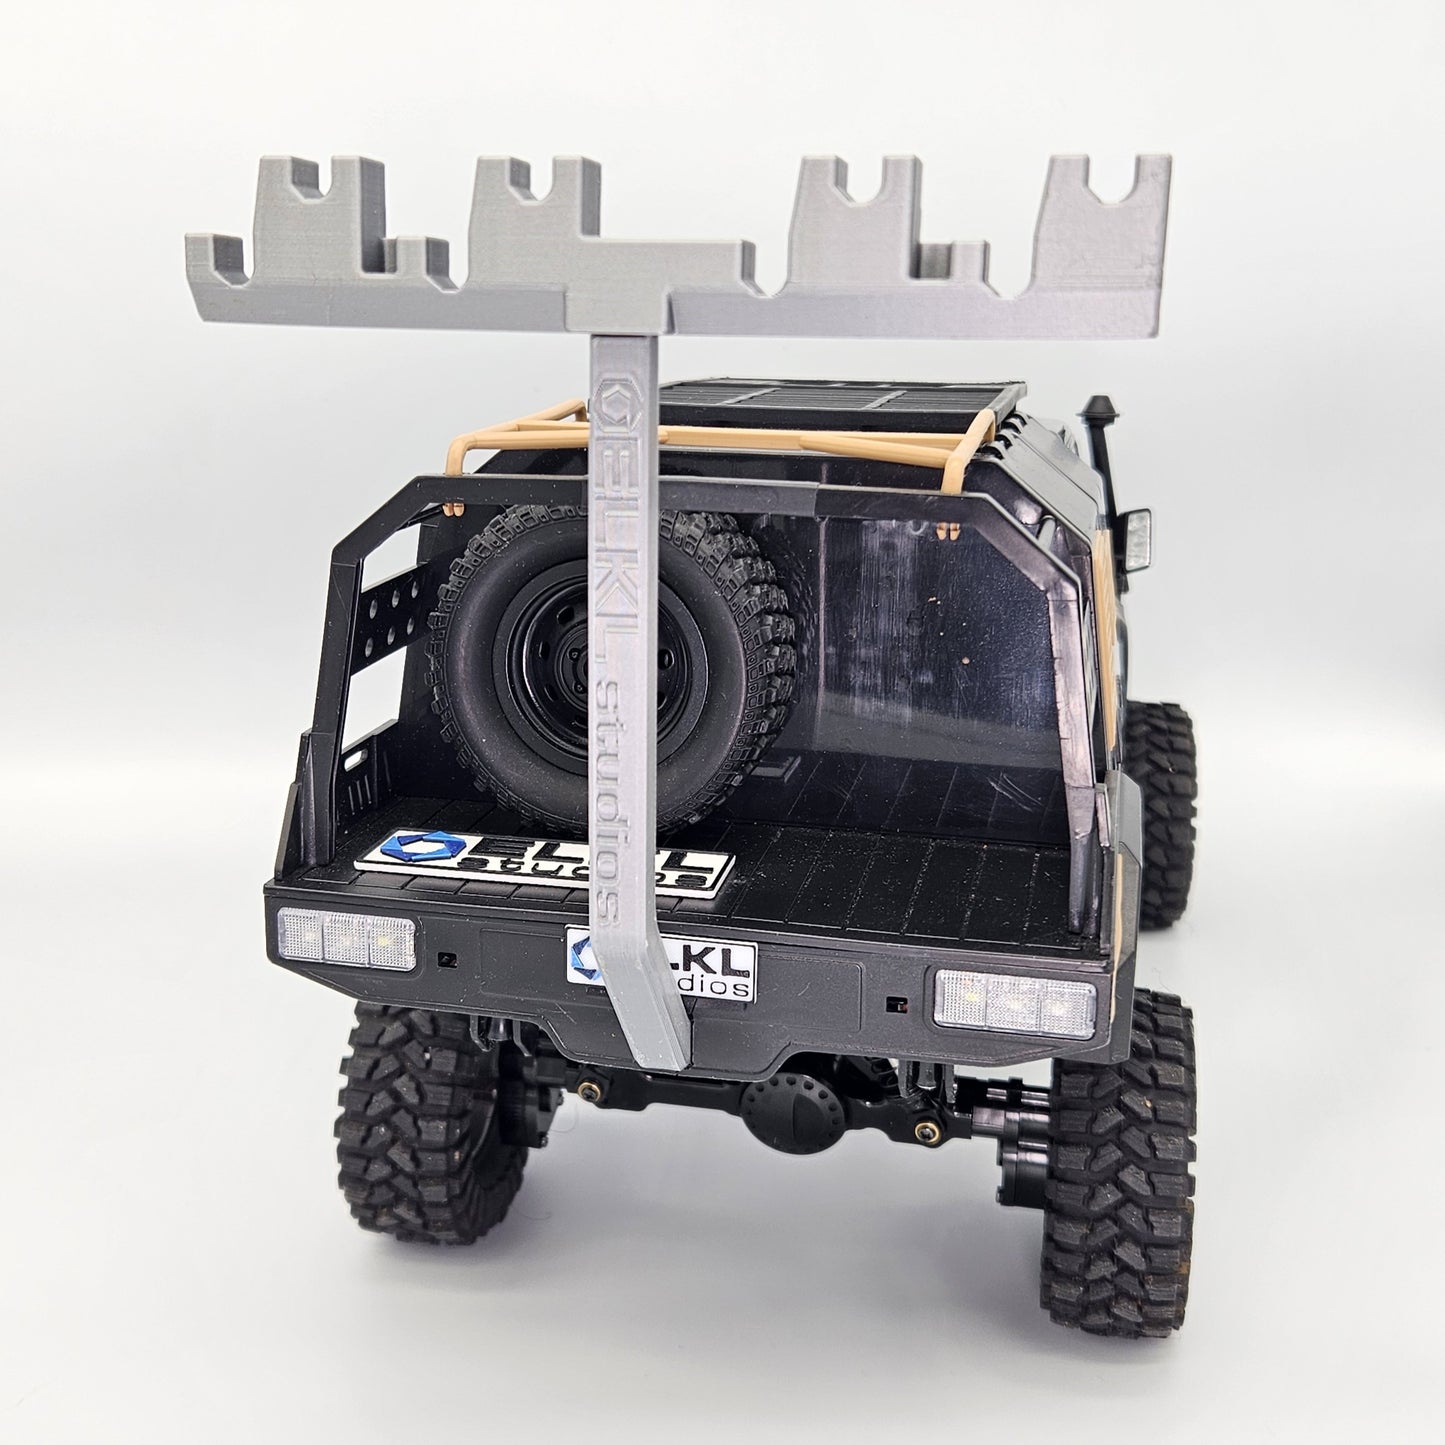
The ELKL Studios hitch rack is a stylish accessory for an MN82S RC Crawler. It's the world's first stanchion mount hitch rack 😁
Installing the hitch rack requires enlarging the hole in the stock bumper to fit - you will need your own tools and ensure you have the skills to do so. As well, you will need to remove or loosen crawler's frame from the body in order to tuck the receiver in place using the provided double sided tape.
Includes hitch rack and MN82S-specific receiver. Bikes and RC Crawler sold separately. RC Crawler can be purchased via our Amazon Canada affiliate link: https://amzn.to/4f2MRDH
INSTALLATION INSTRUCTIONS
- Study the photos on our product page to understand how it should look in the end
- Remove the L shaped part of the ELKL hitch rack from the receiver piece that tapes onto the truck. We shipped it connected together as one piece.
- Wearing safety glasses, use a sharp sturdy hobby/utility knife to enlarge the hole in the bumper to fit the hitch. The truck bumper's plastic is quite soft so it's relatively easy to cut it with multiple light/firm strokes.
- With the truck flipped over, unscrew at least 4 of the screws that hold the chassis to the body. 2 are located right by the bumper, and another 2 are near the middle of the truck.
- Dry-fit the ELKL hitch receiver by pulling up the truck chassis from its body while tucking the ELKL hitch receiver into place, ensuring it fits nicely.
-
If the underside of the truck is dirty, clean the area where the tape would contact with rubbing alcohol.
-
Now remove the ELKL hitch receiver from the truck, remove the red adhesive backing from all pieces of double sided tape. It can be tricky to do so - use a knife to help peel up a corner if needed.
-
Re-install the hitch receiver into place as in step 5 above, pressing firmly for about 30 seconds once it's in place so the adhesive can bond to the truck. It technically takes 24 hrs for the tape bond to reach full strength.
- Re-install the chassis screws into place, flip the truck back right side up, and insert the rack into the receiver and have fun!
⚠️ Choking Hazard – Contains small parts. Not suitable for children under 3 years. Our finger bikes and accessories are intended for decorative display and gentle play. We recommend them for ages 6 and up. Each item is carefully assembled in Canada using non-toxic RoHS‑compliant materials. Please supervise young children during use.
Any questions? Contact us here!
Share


Amazing fit … makes it so real 🤣